Preferences
Preferences let you customize how individual Amorphous tools behave. Unlike the main Settings dialog (which manages your account and license), Preferences focuses on tool-specific configuration options that affect how each add-in operates.
Accessing Preferences
Section titled “Accessing Preferences”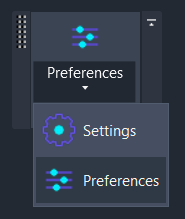
- Go to the Amorphous ribbon tab
- Click the Settings dropdown (not the main button, but the dropdown arrow)
- Select Preferences
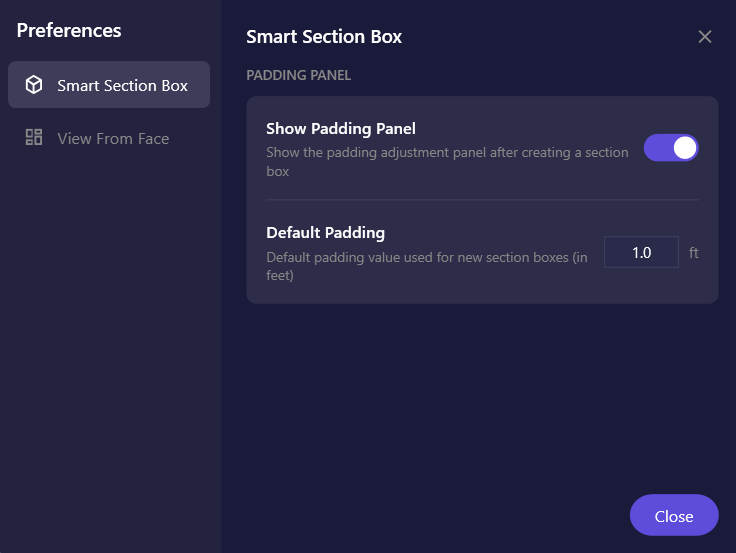
The Preferences dialog opens with a navigation sidebar on the left listing each tool that has configurable settings.
Dialog Overview
Section titled “Dialog Overview”| Element | Description |
|---|---|
| Navigation sidebar | Lists all tools with preference pages. Click a tool name to view its settings. |
| Content area | Displays the selected tool’s configurable options |
| Close button | Click or press ESC to close the dialog |
Settings Storage
Section titled “Settings Storage”Preferences are stored locally on your computer in:
%AppData%\Amorphous\config.jsonKey Points
Section titled “Key Points”- Per-user: Settings are specific to your Windows user account
- Per-machine: Settings don’t sync between computers
- Persistent: Settings survive Revit restarts and updates
- Human-readable: The config file is JSON and can be manually edited if needed
Resetting Preferences
Section titled “Resetting Preferences”To reset all preferences to defaults:
- Close Revit
- Navigate to
%AppData%\Amorphous\ - Delete or rename
config.json - Restart Revit
A new config file with default values will be created on first use.
Preferences vs. Settings
Section titled “Preferences vs. Settings”Amorphous has two configuration dialogs:
| Dialog | Purpose | Access |
|---|---|---|
| Settings | Account management, license status, privacy options, update checks | Settings button (main) |
| Preferences | Tool-specific behavior configuration | Settings dropdown > Preferences |
Use Settings for:
- Viewing license status
- Managing account information
- Configuring privacy/telemetry options
- Checking for updates
Use Preferences for:
- Adjusting how individual tools behave
- Setting default values for tool parameters
- Enabling/disabling automatic UI features
Keyboard Shortcuts
Section titled “Keyboard Shortcuts”| Key | Action |
|---|---|
ESC | Close the Preferences dialog |
Tab | Move to next input field |
Shift+Tab | Move to previous input field |
Related Pages
Section titled “Related Pages”- Settings - Account and license management